Lange benützen wir den Begriff zur Beschreibung unserer hybriden Arbeitsform. Doch ist er überhaupt passend? Wir haben uns auf eine neue Bezeichnung geeinigt. Darüber berichtet Otto Meinhart.
Mehr lesen
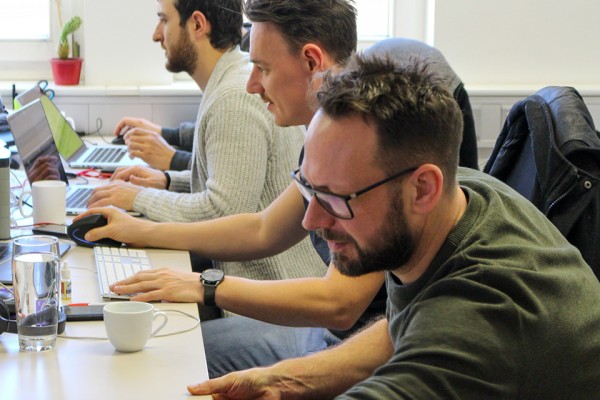
Die Vorteile eines Remote Setting wurden in mehreren Blogartikeln besprochen. Wie sieht es aus mit den Nachteilen? Gibt es sie? Und gibt es Tätigkeiten, die im Büro besser funktionieren? Otto Meinhart spricht darüber.
Mehr lesen
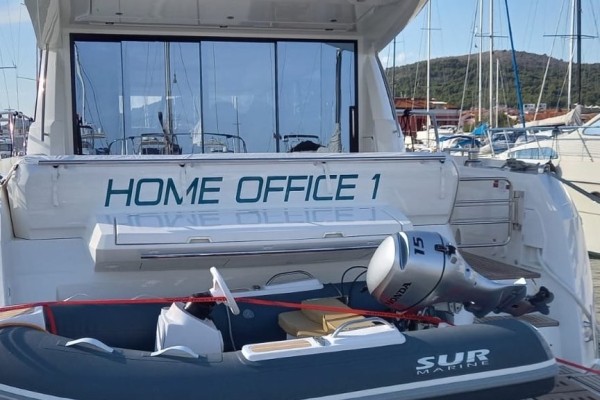
Unsere Mitarbeiter:innen arbeiten bereits seit 2020 überwiegend remote. Wie ist es, wenn der Chef für 4 Wochen auf einer spanischen Insel arbeitet? Otto Meinhart berichtet über seinen Selbstversuch.
Mehr lesenDie Entscheidung zur 100 % Remote Company wurde gefällt. Otto Meinhart erzählt, wie die Voraussetzungen für die Umsetzung geschaffen wurden.
Mehr lesen
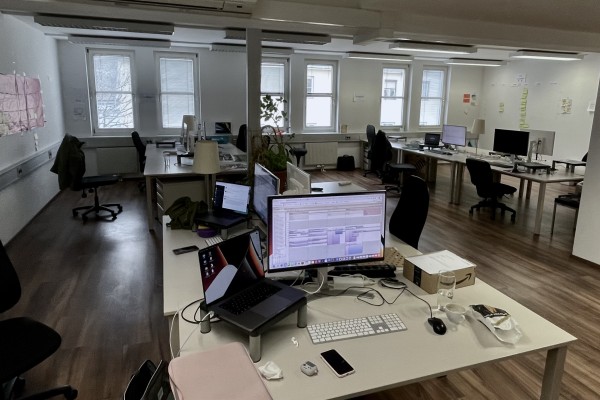
Die openFORCE deklariert sich zu 100 % als Remote Company. Dies war nicht immer so. Wie es dazu kam und was die Meinung von Geschäftsführer Otto änderte, steht im Blogartikel.
Mehr lesen
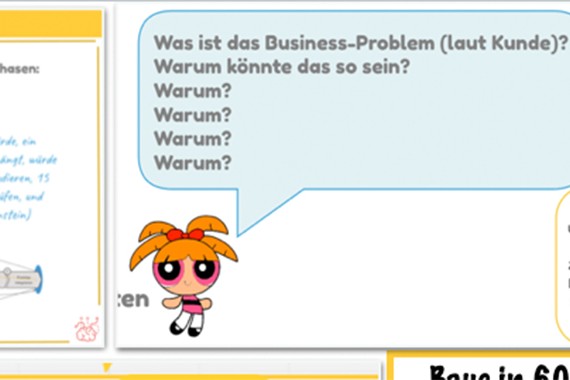
Oft werden Design Thinking Ansätze mit Lösungsentwicklung verbunden. Wir gehen einen Schritt weiter und setzen verschiedene Techniken bereits bei der Problemdarstellung ein.
Mehr lesen
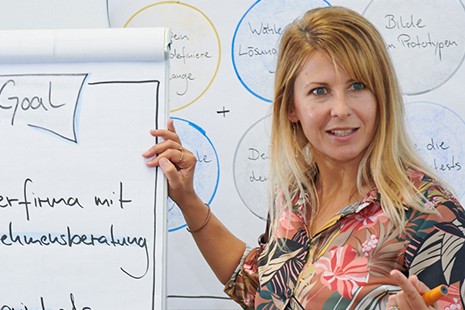
Einen Design Sprint virtuell zu veranstalten hat neben vielen Vorteilen auch potenzielle Nachteile. Erfahre hier wie Du die drei größten Nachteile im digitalen Sprint Format mit ein paar Handgriffen erfolgreich behebst.
Mehr lesen
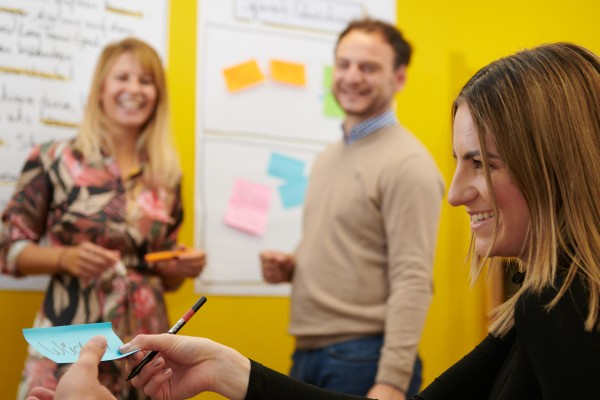
Mein Einstieg bei der openFORCE im Februar 2020 lief durch Covid-19 und den Lockdown alles andere als gewöhnlich ab. Zugleich legte ich einen Kickstart in der agilen Welt hin, dem die ein oder andere Challenge folgen sollte.
Mehr lesen
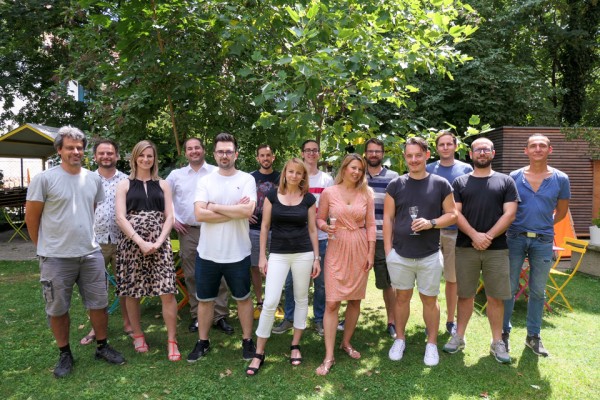
Unser Team Brunch Ende Juli stellte einen Meilenstein in der openFORCE-Unternehmensgeschichte dar - die Vorstellung unserer eigenen Unternehmensvision. Gedanken und Visionen, die uns alle bereits seit Jahren treiben wurden gebündelt und in einen starken Leitsatz verpackt.
Mehr lesen
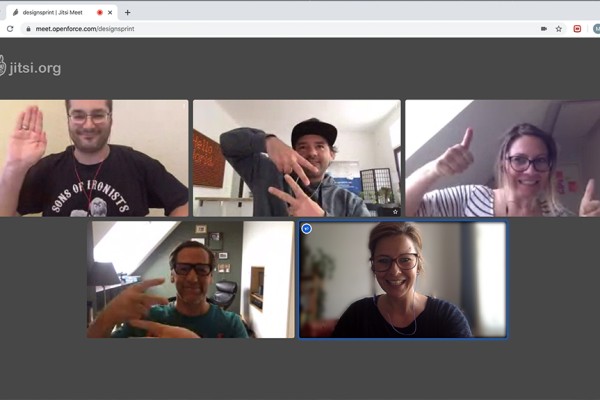
Wir haben die digitale Alternativvariante des Design Sprint getestet und sind begeistert. Welchen Herausforderungen das Sprint-Team begegnete verrät Maja Francé im Blogartikel.
Mehr lesenFünf Wochen sind nach dem Eintritt des Lockdowns vergangen. Wir sehen uns an, wie die Adaptierung ans Home Office bei uns geglückt ist.
Mehr lesenIn the live of an software or system engineer it is somtimes necessary to debug network traffic on the lowest possible level. Wireshark is the most common tool to use when you want to analyze network traffic by sniffing the raw data that crosses your network interface.
As long as you have unencrypted traffic you can directly see the protocoll details as well as the payload of data packages that are sent through the network. But hey, we have 2023, so most of the traffic should be encrypted using strong and modern encryption methods. TLS 1.3 is the standard way to encrypt network traffic today. When starting a communication sender and receiver agree on the encryption method and exchange secret keys that are used to encrypt and decrypt the payload. Without these keys you cannot access the payload and just see a random sequence of bits and bytes.
But for debugging purposes we need to access to the unencrypted payload. So what to do?
The only way to decrypt the payload is to have access to the secret keys the communication partners have agreed on. Thankfully Wireshark understands TLS 1.3 (and older standards like SSL, older TLS versions, but these should not be used anymore) and can decrypt traffic if we provide the secret keys. And there is good news. Most of the tools we use in development have options to log the secret keys so we can use it in Wireshark to decrypt the network payload so we can analyze all the traffic.
There is a log format specification for exactly that purpose and Wireshark can read encryption keys logged in that format!
Configure Wireshark
Wireshark is an excellent tool with an enormous amount of featues, but for the casual user the user interface can be a bit overwhelming. I will not show the general usage of Wireshark or how to start analyzing a network connection as that would extend the length of that post.
When you have started a recording session you need to configure where Wireshard can find the communication keys. You need to right click in the packet list and select open the "Transport Layser Security Preferences" dialog. The following screenshot shows the context menu and where you can find it.
In the following dialog you need to select the log file with the keys. This is shown in the next screenshot.
From now on Wireguard can access the secret keys and will try to use them to decrypt the TLS message payload! Now only one question remains. How to configure your software stack to log the secret keys?
This works for Google Chrome, Chromium based browsers, Firefox and curl on Linux/macOS.
export SSLKEYLOGFILE=/home/my-user/Documents/tls_key.log
You need to start the browser from the command line so that the environment variable takes effect. After visiting websites that use https (should be any website nowadays) you will notice that the communication keys have been appended to the tls_keylog.log file. You can use that file within Wireshark as described above! As soon as you added the keyfile Wireshark looks up the corresponding encryption keys from the file and uses it to encrypt the whole traffic!
Java/JVM based applications
When you are using JVM based languages like Java, Kotlin, Scala you cannot use the method above as Java uses it's own TLS stack to do all the encryption. Luckily there is a little software helper that can log communication keys as well! You can use jSSLKeyLog to run as a Java agent along with your application. You can find more infos about Java agents in that overview about Java instrumentation.
The following example shows how to configure that i.e. in IntelliJ:
The important part is that you need to add a JVM argument in the form:
node --tls-keylog=$(pwd)/tls_key.log app.js
As soon as you start your application and access TLS encrypted websites or API endpoints the encryption keys will be appended to the key.log file. Now you can configure Wireshark as described above to read the keys from that file and et voilá - you can see the decrypted payload.
Node - JavaScript, Typescript
When you are using Node you are ready to log your encryption keys out of the box as node has explicit support for logging them to a file via command line option:
node --tls-keylog=$(pwd)/tls_key.log app.js
So just add the "--tls-keylog" option to your scripts and you are ready to debug!
Rust
There is no explicit support for logging TLS keys - at least I am aware of - but you can use a default library available for Rust to log the keys in your application.
The documentation is available here https://docs.rs/rustls/latest/rustls/trait.KeyLog.html
So a bit more work to do but at least not quite hard to implement it into your application.
Disclaimer
As soon as you have finished your debugging session, don't forget to disable the logging of the SSL/TLS keys again! When you use your browser for debugging tasks and then do some banking stuff you don't want anyone else to have access to the keylog files, did you? So simply don't forget to disable the logging!
So next time you need Wireshark for low level debugging network traffic you don't need to fear about TLS encrypted traffic. Happy debugging!